Showing posts with label Pasta/Grains. Show all posts

October 21, 2015

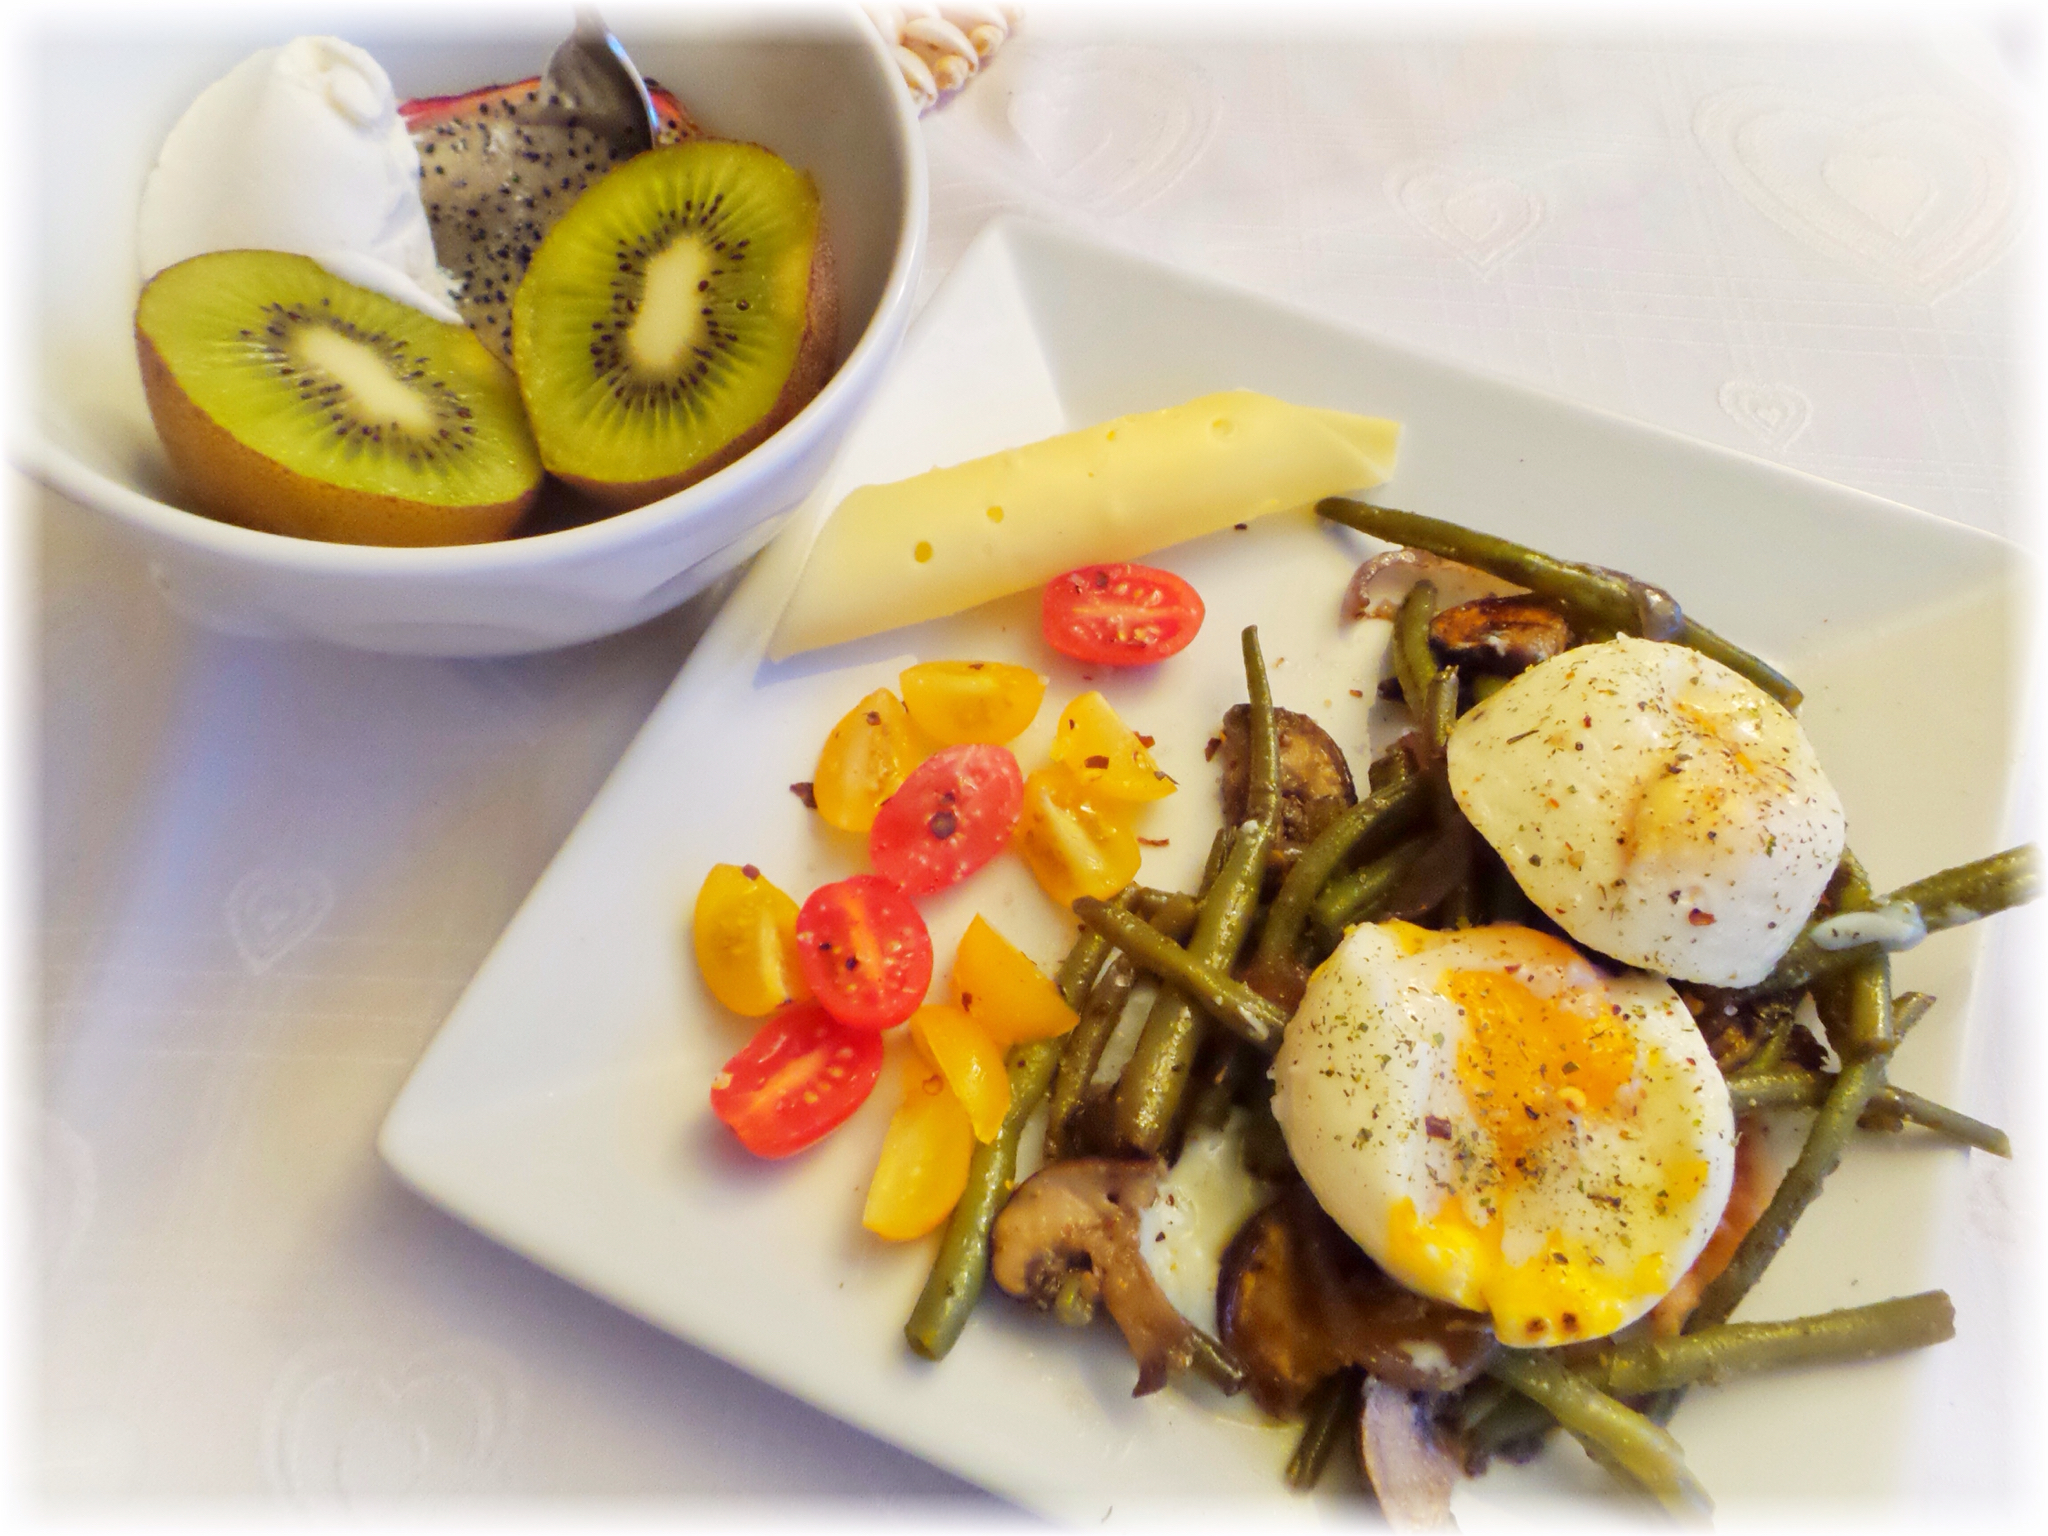
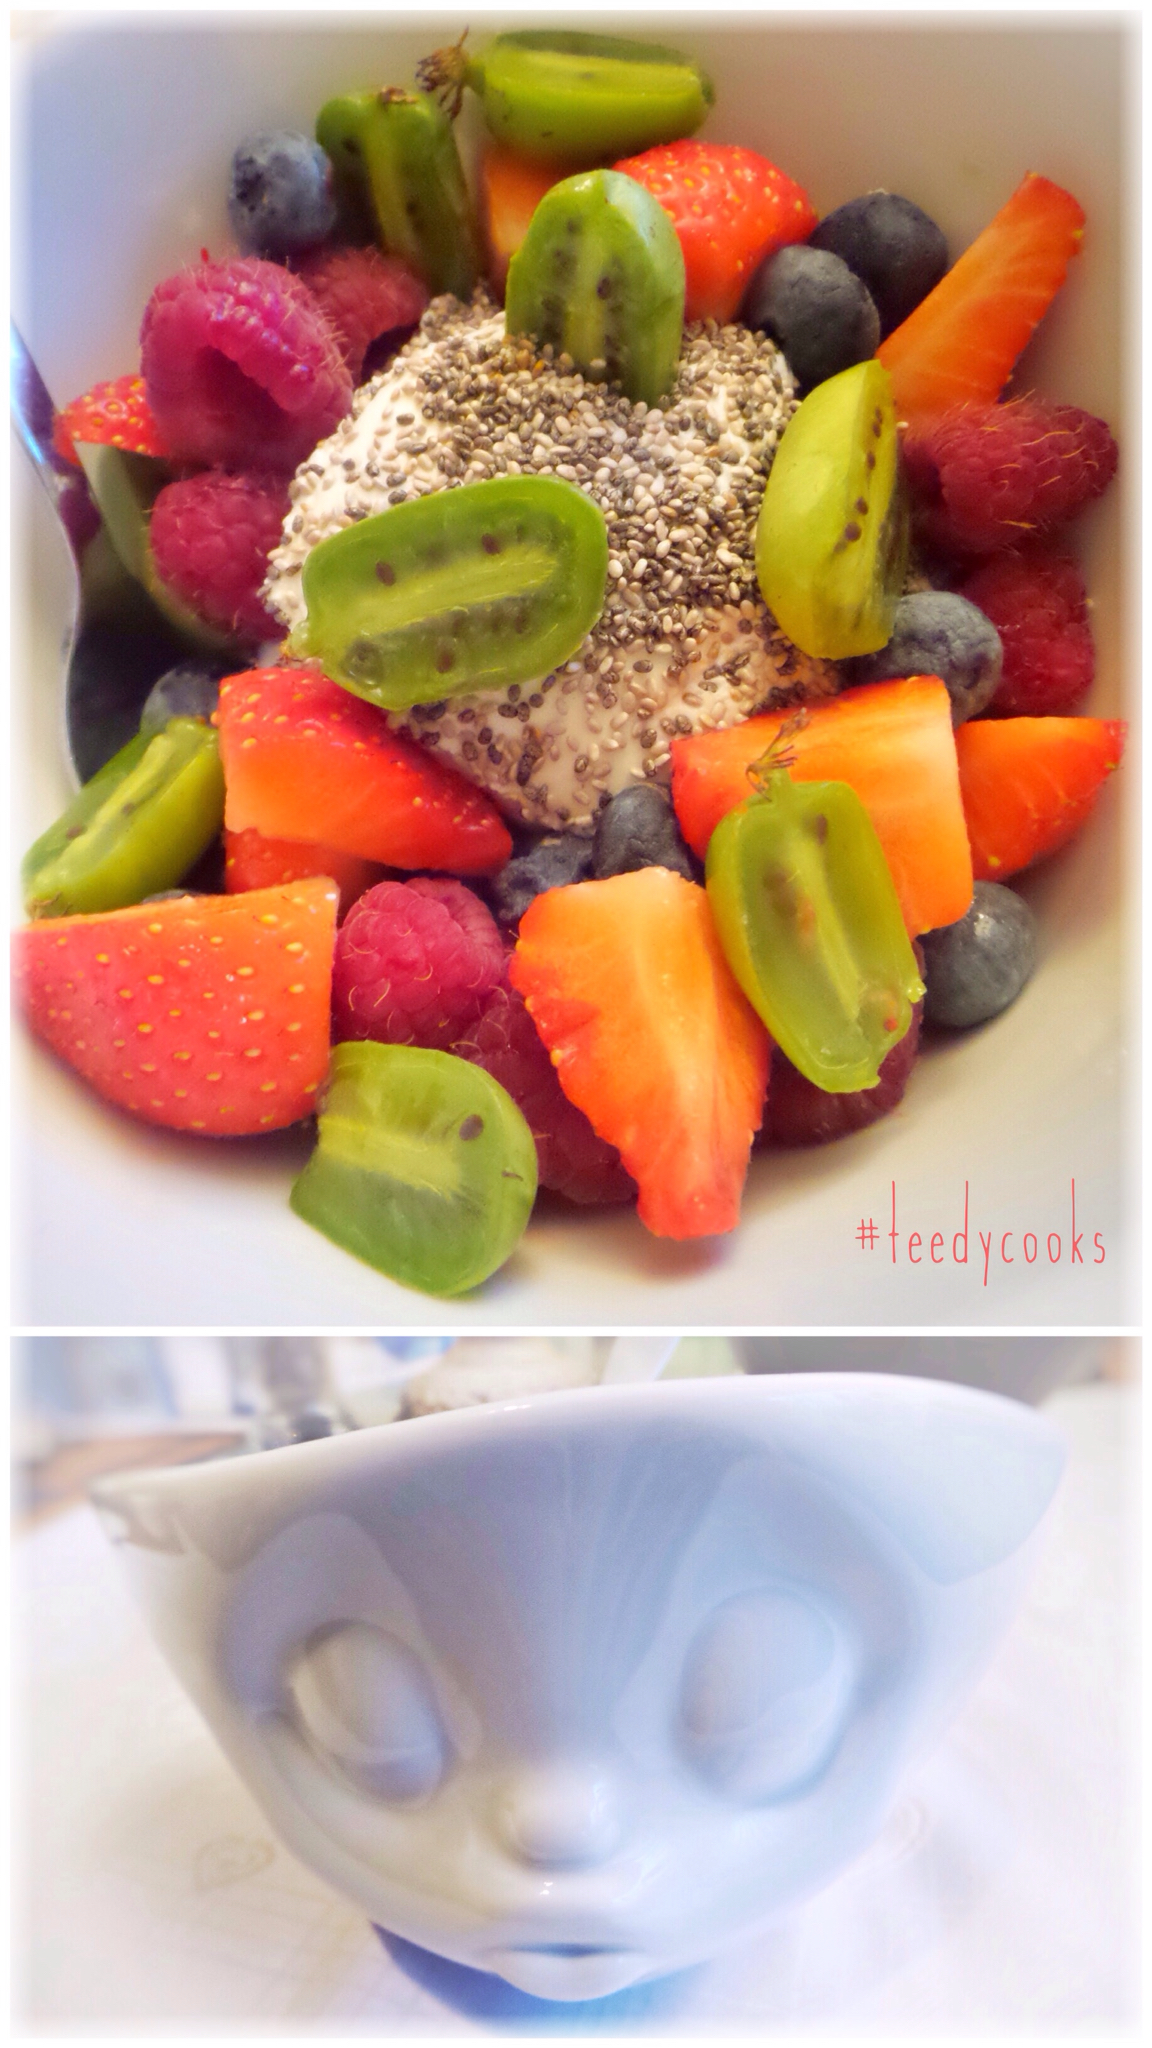
#BeautifulBreakfast, Go Eat!

For the past several months I've been concentrating on breakfast. The reason being, it truly is the most important meal of the day. It jump starts your metabolism and it's where you get your first energy blast. It's pretty well known that fresh, colorful foods carry all the goodies you need and honestly, who doesn't like beautiful food?


I've also been making a great effort to incorporate better grain choices into my diet. I limit my bread intake, I choose brown, red or black rice, bulgar, barley and quinoa. I eat more sweet potatoes and yams instead of white potatoes. I haven't removed grains completely as I have no desire to take good carbohydrates from my diet. I like balance. I also choose smarter oils and fats. I use more yogurt, kesam and skyr instead of sour cream. I've also added more movement to my daily routine. I'm pretty sedentary and that's not working for me anymore!! I'm in the 45-55 age range now. Gotta keep thing working properly. Yoga and trying to add 10,000 steps daily has been my new regimen. Flexible fatty, baby!!!! You don't have to be skinny to be fit.

Make smart choices when you eat. Eat clean, colorful, beautiful, fresh foods and move ya body! It makes your brain and belly hole so much happier. Now, look at these #beautifulbreakfasts and GO EAT!! and move.

May 28, 2014

Slow Cooker Sweet & Savory Pork Roast with 'Gumes & Roots!

My fabulous husband got me a super-duper fantastic slow cooker!! Now, the reason for my excitement is that until last year, no one in Norway even knew what the Hell I was talking about when I asked about slow cookers or crock pots. This is something very new to Norway.


As an American, crock pots have been a part of our lives for decades. They were the "go to" way of cooking for working folk or if you wanted to slowly cook meats, beans, chickens, hens and such. Now that I have one here in Langevåg, life will never be the same. In a good way.

Cheaper cuts of meat or fattier meats will tend to benefit the most from slow cooking. The long low cooking process tenderizes the meat and the more fat content, the juicier the meat.

I had this lovely center cut pork roast just waiting to find a home in my cooker. Last night I seasoned it up:

Pork Roast Prep

1kg center cut pork roast
6 cloves garlic
2 tbsps molasses syrup
salt
crushed red pepper
2 tsps cumin powder
Creole Seasoning, to taste (optional)
1 tbsp dried marjoram
1 tbsp dried oregano
1 tbsp balsamic creme
1 tbsp olive oil

1 large yellow onion, chopped
2 stalks celery, large slices
2 large carrots, large slices
1 small leek, sliced, washed

Cut pockets into your roast so that the garlic tucks deeply inside without peeking out. You don't want it burning or slipping out while you're searing it.

Cover it with all of the spices, herbs, molasses syrup, balsamic creme and oil. Let it rest for 1 hour.


After the roast rests for an hour, cover it with the sliced veggies, cover it well and put into the refrigerator over night or for at least 8 hours.


Most people think when you slow cook it's all about throwing everything into a pot, setting it and not having to think about it until it's time to eat. Some slow cooker recipes are like that, this is not one of those. It's going to be some work involved here.

Remove the roast from it's little nest under the veggies. It's going to smell like heaven!


To ensure a lovely, juicy roast I like to sear the meat. I heat a skillet with a touch of oil on high heat. When it's nice and hot, sear the meat on all side for a couple of minutes to get a nice brown crust.


My slow cooker has a stainless steel rack, if your's doesn't, it's okay you can make a little riser for the roast with your veggies. I place half the veggies on and under the rack, the roast on top and then the rest of the veggies on top of the roast.


Set the cooker to medium and set a timer for 5 1/2 hours. Now onto my side dishes!!

You may be wondering what 'Gumes & Roots is all about. 'Gumes is my short word for Legumes or beans and their relatives. Roots are root vegetables of which there are many. The legumes I'm using are white beans and dark red kidney beans. I soaked them over night so they were ready to cook today.


My roots are sweet potato, new potatoes and carrots.

'Gumes & Roots

1/2 cup dried white beans, soaked overnight
1 cup dried dark red beans, soaked overnight
1 small sweet potato, cubed
2 new potatoes, cubed
2 small carrots, cubed
1 medium yellow onion, diced
1 red bell pepper, diced
2 cloves garlic, minced
1 stalk celery, diced
2 tsps oregano
2 tsps basil
2 tsps thyme
salt & pepper to taste
1 tsp Spanish paprika powder
1/2 tbsp olive oil

In a saucepan, heat your oil and sautee onions, garlic, bell pepper and celery until your onion are slightly transparent. Add herbs, beans a cover with water, about 2-3 inches over the beans. Add spices and stir. Cover and simmer over medium low heat. I like them to cook for 4-4 1/2 hours, adding more water as needed. In the last 30 minutes of cooking add diced root veggies and cook until those are tender. They will also help to thicken the liquid in the beans. Adjust salt & pepper as needed.

Fuzzy is in charge of sharpening the knife and slicing this pretty roast. After it comes out of the cooker, I let it rest for 5 minutes before slicing.


I serve with steamed brown rice.


Now...

Go, eat!!

If you enjoy the recipes, please share my blog with your friends.

May 21, 2014

Tortellini with Pork and Green Sauce

Hiya Folks!

I have a quick delicious meal for dinner that I made last night and my good friend and fabulous cook, Jennifer Rooney (featured along with her husband, David in Friendly Foods) asked me for the recipe. So, here ya have it!!

When you've been running about all day or just coming in from work and need to make a dish that's quick, easy and fantastic in your mouth, pasta is always a great choice.  I chose tortellini because my husband loves it and I can always find an interesting variety in the food boutiques here in our tiny town. I only use the kinds that I find in the refrigerated section of the store, I am not a fan of the dry packaged kinds. That's my personal preference. My 2 favorites are the mixed mushroom filled or 3 cheese filled. For this dish I used the 3 cheese filled.

PASTA

500g package (serves 4-6)
prepare to package instructions
DON'T OVER COOK!!!
Tortellini will break up and become total chaos if over cooked.

Once it's cooked, I drain the pasta and drizzle with a tiny bit of olive oil so that is does not get sticky. Don't drown it in oil or you'll have an oily, sloppy mess when you add your sauce.

Pork and Green Sauce

400g pork, thinly sliced
3 sprigs green onion, finely sliced
2 cups spinach, finely chopped
1 tbsp basil pesto (prepared or homemade, it's up to you!)
1 1/2 cups frozen peas, don't use canned peas. They get squishy.
1 small red bell pepper, chopped
6 shitake mushrooms, finely sliced
salt & pepper to taste
2 tbsps freshly grated Parmesan
1 tbsp olive oil

Heat a large, deep skillet over medium high heat and add olive oil. When the oil is nice and hot, add pork strips and sautee until most of the "pink" is gone but not completely cooked. Thin pork strips cook quickly and over cooking will make it tough and no fun to eat.

Reduce the heat to medium, add spices, chopped veggies, mushrooms and frozen peas. Sautee until the peas are warmed through. Add pesto and Parmesan cheese. once the pesto and cheese have come together with your other ingredients, turn off the heat. Add your cooked tortellini and gently mix together. Don't mix it roughly or you'll break up the pasta. It will still taste good, of course, but will look like a gelatinous mess!

This is a great meal, even for a dinner party with friends. The lovely shades of green with specks of red from the bell pepper make for a beautiful presentation.


Now...

Go, eat!!

If you enjoy the recipes, please share my blog with your friends. If you have a recipe you'd like to share in Friendly Foods, please send it in. Photos are also appreciated! teedycooks@gmail.com

December 02, 2013

Thanksgiving Leftovers! Turkey, Bacon & Black Eyed Pea Soup (Photos)

When you have that beautiful carcass with beautiful chunks of meat all over, pieces of the bacon that was wrapped around it stuck here and there and the delicious bits stuck to the bottom of the pan, soup is necessary!


I soaked a handful of dried black eyed peas overnight so they'd be ready to roll today.


You can make soup with almost everything. I had half of a small cabbage, a handful of Brussels sprouts, red onion, celery, carrots, peas, and a 1/2 cup of barley.

Put everything into to the pot, add water, don't completely cover because the veggies will make some liquid.


I let it simmer for 1.5 hours, covered. I went through with tongs and picked out the bones. Serve hot with crusty bread. If there's any left, it freezes beautifully for a meal on a chilly day!!


Now...

Go, eat!!

If you enjoy the recipes, please share my blog with your friends. If you have a recipe you'd like to share in Friendly Foods, please send it in. Photos are also appreciated! teedycooks@gmail.com

August 14, 2012

Citrus Water, Ginger Chicken, Couscous & Spicy Cabbage (With Photos)

First I will begin this little food exploration with the Citrus Water. A great way to make water more appealing and delicious is by dropping in fresh fruit. Almost any fruit can be added to water to make it tasty and gorgeous! Some people who have no interest in drinking water need a little encouragement. My favorites are, lemon and red grapefruit, melon and cucumber, red and green apple & green grapes and strawberry. The one I choose for this dish is lemon and red grapefruit because it compliments the flavors in the Ginger Chicken.
 
Add a few slices to your water and put it into the fridge until its time for dinner. You want it to sit for a while so that the fruit can lightly flavor the water.
 
Now onto the chicken!
 
This is an easy dish yet full of flavor. It makes a good weekday meal but can also be served for an intimate dinner party with friends. Just add a nice bottle of white wine.
 
I don't have this in true recipe format, but it's easy to follow.
 
I like to get nice large boneless skinless chicken breasts and that way you only need one per person. I wash the chicken breast under cold water and then pat dry with a paper towel. Lay the chicken breast on an antibacterial chopping board or a plate and score it in a crisscross pattern, making sure not to cut all the way thru.
 
This process makes the seasoning embed itself into the chicken, giving you delicious flavor through the chicken.


Finely mince, 1 teaspoon of each, garlic, pickled ginger and cilantro (coriander). Sprinkle sea salt and crushed red pepper over the chicken breast to taste and then press the minced ingredients into to your chicken.
 
 
Drizzle olive oil over the chicken and set your oven at 185C. I use a paper towel with olive oil and rub it along the bottom of a glass baking dish to bake my chicken.
 
Now you can prepare your cabbage. I slice my cabbage into long thin strips, wash it and place it into a medium stock pot. On top I add minced garlic, sliced red onion, and a spice mix that I prepare of 17 spice no salt seasoning, cayenne pepper, smoked sea salt, paprika powder, white pepper and dried oregano.
 
 
I drizzle a little vegetable oil over the top and turn it on a medium heat. I stir it around and only cook it until the cabbage and onions soften slightly. I like a nice crisp to the vegetables.
 
I prepare my couscous according to the box directions but I always use chicken broth instead of just water for more flavor. I stir in sliced green onion, cover and set aside until its time to serve.
 
I pop the chicken into the oven for 25 minutes or until the chicken runs with clear juice. 15 into cooking I sprinkle sliced green onion over the chicken.
 
When the chicken is done I take it from the oven and let it rest for 5 minutes. I place a chicken breast onto a bed of the spicy cabbage and the couscous next to this lovely fragrant birdie!


Now...
 
Go, eat!!
 
If you enjoy the recipes, please share my blog with your friends. If you have a recipe you'd like to share in Friendly Foods, please send it in. Photos are also appreciated! teedycooks@gmail.com
 

July 23, 2012

The Perfect Brown Rice

Cooking "true" brown rice can be daunting to some. You boil it and boil it for hours and it's still crunchy. Converted brown rice (ie, Uncle Ben's Brown Rice) takes the guess work out, but this super healthy grain loses so much in that process. You can make perfect brown rice but you have to be willing to spend the time. It's worth it. I suffer with terrible digestive problems and white rice can give me serious stomach troubles. Brown rice is a staple with me and it's beautiful nutty flavor makes it worth the extra time. The plus side, you can make a large portion and it can be stored in the refrigerator for up to 6 days in an airtight container or split between freezer bags and frozen and thawed for later. The steps I have listed below are NECESSARY in order to get perfect brown rice.

Measurements: 1 part brown rice to 2 parts liquid.
So, if you use 1 cup brown rice, you'll use 2 cups broth or water.

In a stock pot put 1-3 tablespoons of oil, depending on how much rice is used. You want the oil to coat the rice, but you don't want it floating in oil. I like to use olive oil. You can choose for yourself.

Put your rice into the oil over medium high heat, stirring constantly. You will begin to smell a wonderful nutty aroma coming from the rice. Do this for about 5 minutes. If pieces of rice start to puff, remove from heat. This step is one of those absolutely necessary steps I referred to.

When the rice is browned and smelling wonderful, pour your broth or water over the rice.

Now, I use the rice as a side with meats, fowl and fish but I also have it with an egg for breakfast or with steamed veggies for lunch, so I like to season my rice. I add:

1/2 bell pepper (any color) diced
1/2 onion, diced
1 stalk celery, diced
1 teaspoon garlic, minced
1 teaspoon dried oregano
1 teaspoon Creole Seasoning
1/2 teaspoon red pepper flakes

I add these ingredients when I pour the liquid over the rice. Bring the rice up to a full boil. When it's at a full boil, turn the fire down to the lowest setting and cover. Set a timer for 40 minutes and let it simmer on low. DO NOT OPEN THE LID!!! I know the desire to peek and stir eats at you, but don't do it!

When your timer goes off in 40 minutes, remove the pot from heat, STILL COVERED, and set the timer for 20 minutes. Do not open the lid!!

At the end if the 20 minutes, open the lid and stir the rice to release the heat and leave it uncovered to let it cool down. Do not recover until the rice has cooled.

If you follow these steps, you will have perfect brown rice.

Brown rice is one of the most beneficial starches you can eat. Each 1/2-cup serving of brown rice provides a slew of good nutrition, including 5 percent of your daily protein requirement, 8 percent of your daily fiber requirement and good amounts of the minerals iron, thiamin, niacin and folate.

Now...
Go, eat!!


- Posted using BlogPress from my iPad